Elecdeer Professional Car Diagnostic Instrument, SRS Code Reader
Elecdeer professional car diagnostic instrument
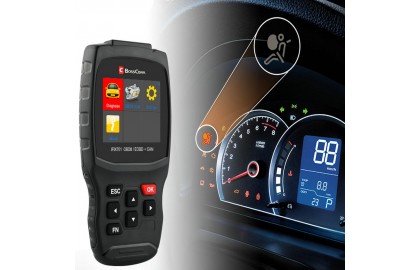
What is a car diagnostic instrument
Automobile diagnostic instrument is a professional instrument specially for automobile detection, which can detect the performance of the vehicle in real time and detect the faults of the vehicle. Technical status, inspection tools to find out the fault location and cause. It includes detection and diagnosis of automobile engine, detection and diagnosis of automobile chassis, detection and diagnosis of automobile body and accessories, detection and detection of automobile exhaust pollutants and noise, etc. Car diagnostic instrument is a necessary tool for testing vehicles.
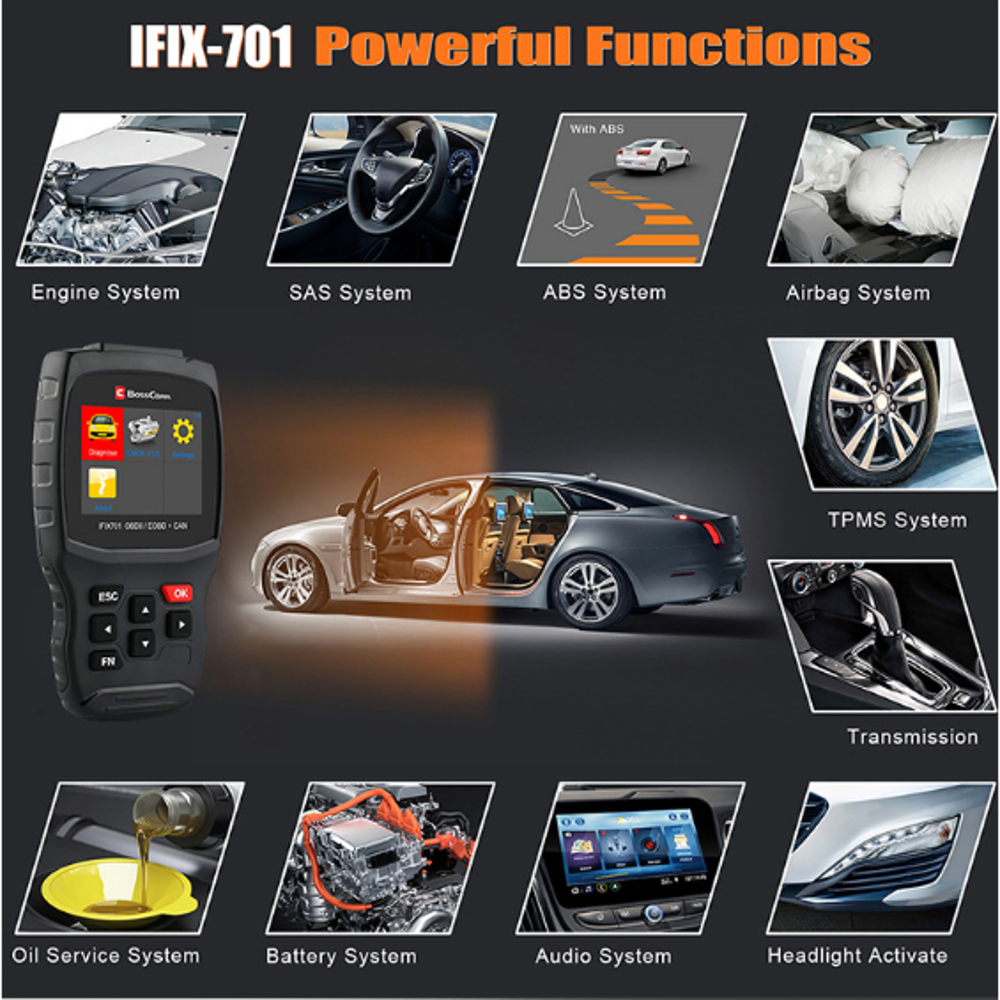
Functions of Automotive Diagnostic Instruments
1. Read DTCs: Read DTCs and DTC details stored in the engine system, and give the cause of the fault and maintenance guidance information for the read DTCs.
2. Clear DTCs: Clear all DTCs in the system.
3. Read dynamic data flow: read all operating parameters related to ECU system.
4. Freeze frame data: When an emission-related fault occurs, the ECU will set a fault code and record the vehicle operating status information at the moment of the fault to confirm the fault. The recorded information is called a freeze frame.
5. Sensor test: This service is for the access of oxygen sensor monitoring test results.
6. Read vehicle information: read vehicle information, such as vehicle identification number (VIN), calibration identification (CALID) and calibration verification number (CVN).
The most basic operation of the diagnostic instrument
1. Boot up
(1) Select the corresponding test card, assuming it is an A01 card, and insert its label into the test card at the lower part of the host.
(2) Connect the test main line to the host, and connect the other end of the power line to the car cigarette lighter or to the battery through a double-clamp line, so that the host is energized.
2. Adjust the brightness of the display screen
After the host is powered on, turn on the instrument and make two beeps. At this time, use the [↑] or [↓] key to adjust the brightness of the display screen immediately, and it cannot be adjusted after entering the menu.
3. Select the test connector
(1) After the main unit is powered on, it enters the diagnosis system, and after pressing the [OK] key, it displays the testable car series of the A01 card,
(2) Select the car series to be tested and press [OK] to display the test connector type of the car series on the screen.
(3) Use the [↑] or [↓] key to read the content in the figure, and follow the prompts to select the appropriate test connector. Connect one end of the selected test connector to the test main line, and the other end to the diagnostic socket on the vehicle. After selecting the test card and test connector, you can start the test operation.
The test operation is usually divided into two parts: reading system data stream and testing fault codes. By reading the data stream, you can get the relevant sensor parameters of the car and understand the running status of the car. Test the fault code, you can read the car fault code and diagnose the car fault. The operation method of testing fault codes is introduced below.
4. Test fault codes
(1) When selecting a test connector, if you select "semi-circular diagnostic socket", press [Enter] to display the test function. It can be seen from the menu that there are 6 test functions of testing DTCs, rereading the tested DTCs, viewing DTCs, clearing DTCs, clearing SRS DTCs and printing test results.
(2) Select the "Test DTC" function, press the [OK] key, and the screen will display "Automatically test all systems" and "Select system test" for selection.
(3) Select "Automatically test all systems" and press [OK]. At this time, the decoder automatically detects the engine (ENG), automatic transmission (AT), brake anti-lock braking system (ABS), safety airbag (SRS) and cruise control system (CC) of the car under inspection, and automatically displays Test results. Use the [↑][↓] keys and [OK] key to read the fault codes and contents of each system.
(4) Select "Select System Test" and press [OK] to display 5 testable systems.
5. Review the tested fault codes
(1) Using the function of "reviewing the tested fault codes", you can review the content of the fault codes and fault analysis read during the actual measurement operation. During operation, select "Review Tested DTCs", press [Enter], and the screen will display two choices: "Review the list of tested systems" and "Review the selected system".
(2) Select "Review the list of tested systems", press the [OK] key, and the screen will automatically display the test results of the tested systems.
(3) Select "Select System Review", press [Enter], and the screen displays 5 systems that can be selected. Use the [↑][↓] key and [OK] key to read the fault codes of each system and the content of the fault codes.
6. Check the fault code
(1) Use the function of "Viewing DTCs" to check all the DTCs of the electronic control system or check the DTCs that have been read. During operation, select "View DTC", press [OK], and the screen displays 5 systems.
(2) After selecting a certain system, the screen will display two options of "review according to the sequence of fault codes" and "review by entering fault codes", as shown in Figure 2-94, press [↑][↓] keys and [OK] key to select one of them.
(3) If you select "View in order of fault codes" and press the [OK] key, the content of fault code 11 may be displayed on the screen. Press the [→] key to view the fault code content of the next sequence number.
(4) If you select "Input DTC Check", press [Enter] key, the screen will display "Please enter DTC". Press the number keys 0~9 on the host to enter the fault code, press [→] to change the number, press [OK] to find out the fault content corresponding to the fault code and guide the car repair.